How to Sharpen and Care for a Japanese Knife (Without Ruining It)
Whetstone angles, why pull-through sharpeners destroy Japanese blades, and the five-minute routine that keeps a good knife sharp for years.
A Japanese knife arrives sharper than most people have ever handled, and then two things happen. It gets dull, and the owner reaches for whatever sharpening device is in the drawer. That device is usually a pull-through sharpener, and it is the single fastest way to destroy an expensive blade.
Japanese knives are thin, hard and ground at a narrow angle. They need a stone. The good news is that a stone is cheap, the technique takes an afternoon to learn badly and a few months to learn well, and a properly maintained knife will outlive you.
Why pull-through sharpeners are the problem
A pull-through sharpener has two hardened carbide or ceramic wheels set at a fixed angle, typically around 20° per side — the correct angle for a European knife.
A Japanese double-bevel knife is ground at roughly 12–15° per side. Dragging it through a 20° device does not sharpen it: it grinds away the existing thin edge geometry and replaces it with a thicker, blunter one. The knife will feel sharper for a week and will never cut like it did again, because the thin edge that made it Japanese is gone.
Carbide pull-throughs also tear metal rather than abrading it, which on hard steel means micro-chipping along the entire edge.
Do not use them. Not once, not "just to tide it over".
What you actually need
Three items, and only the first is essential:
- A combination whetstone, #1000 grit on one side and #3000–#6000 on the other. #1000 does the sharpening; the finer side refines the edge.
- A flattening stone, eventually — whetstones wear hollow in the middle and a hollow stone cannot produce a straight edge.
- A damp cloth or non-slip mat to stop the stone moving.
Japanese whetstones are usually water stones: soak the #1000 side in water for 5–10 minutes until it stops bubbling. Splash-and-go stones exist and say so on the box. Never use oil on a water stone.
The routine
Fifteen minutes, every month or two for a home cook.
- Set the angle. Lay the blade flat on the stone, then lift the spine about the width of two stacked coins — that is roughly 15°. Consistency matters far more than precision.
- Work in sections. Divide the edge into three: heel, middle, tip. Sharpen each in turn rather than trying to sweep the whole blade.
- Push away, lift on the return. Light pressure on the forward stroke, none coming back. Ten to fifteen strokes per section.
- Feel for the burr. Run a fingertip across — never along — the opposite side of the edge. A faint wire of metal means that section is done. No burr means keep going; there is no shortcut past this step.
- Flip and repeat, matching stroke count to raise the burr on the other side.
- Refine on the fine side, half the strokes, half the pressure, until the burr falls away.
- Strop lightly on a piece of cardboard, leather or the edge of a newspaper to remove what's left.
Test on a sheet of paper held vertically: a sharp knife falls through it without tearing.
Hard steel like this holds an edge for a long time and then requires a real sharpening session rather than a quick touch-up. Plan for fewer, more thorough sessions rather than constant fiddling.
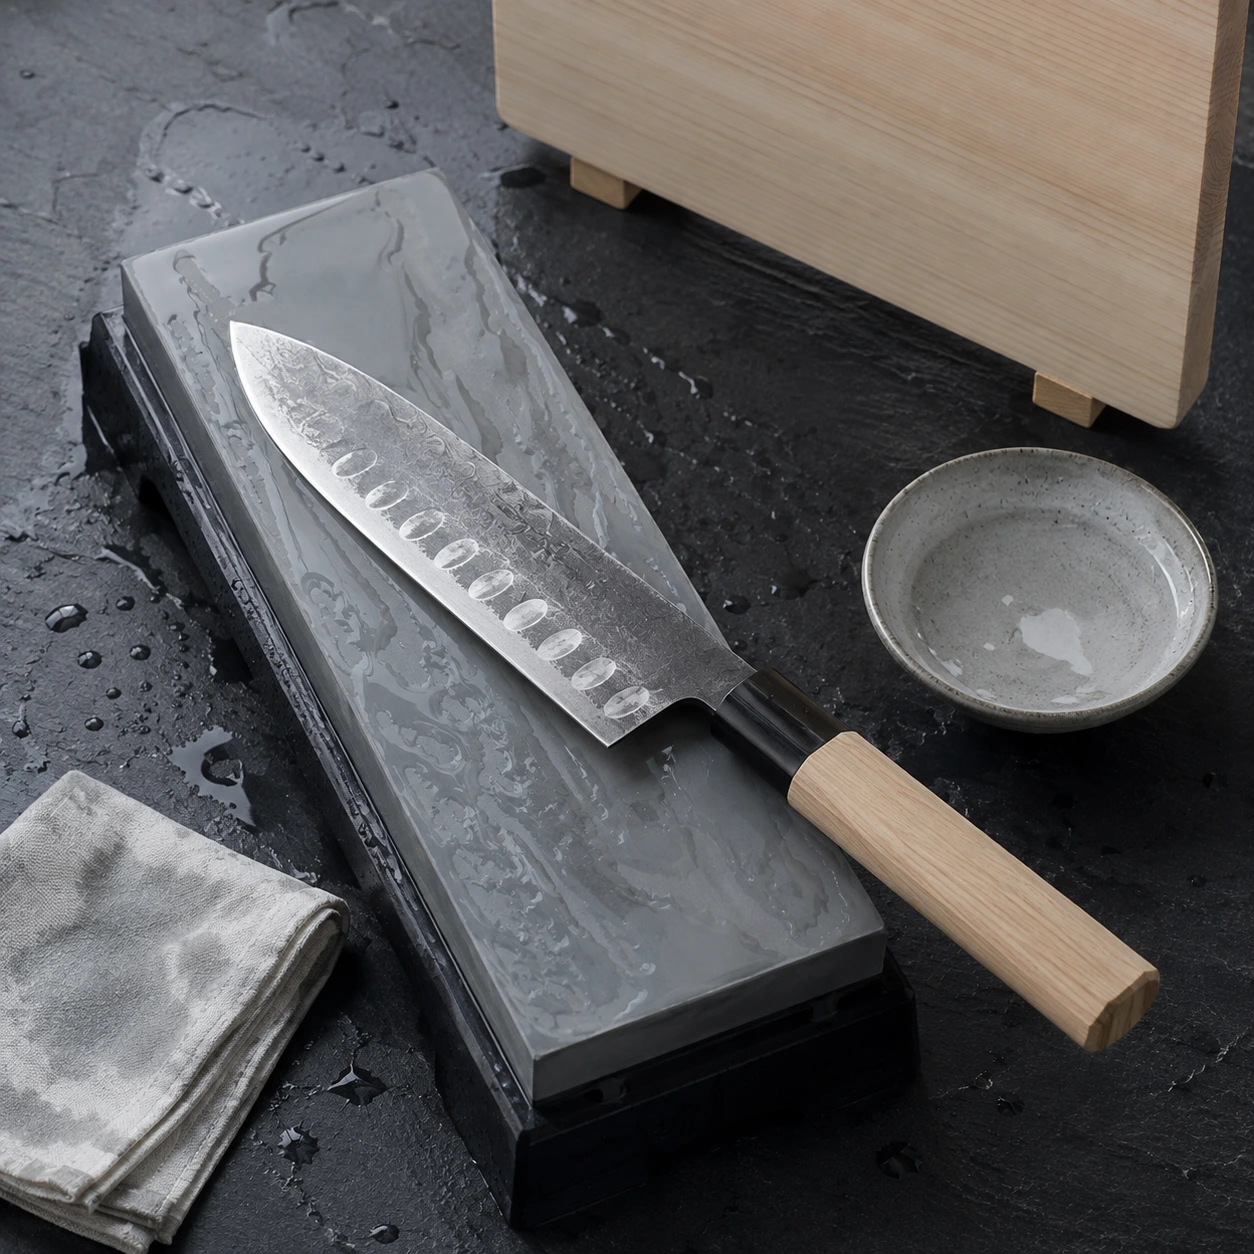
Damascus-clad blades sharpen exactly like plain ones — the pattern is in the cladding, not the edge, so nothing about the technique changes.
Single-bevel knives are different
A deba or yanagiba is ground on one face only, with a flat or slightly hollowed back.
- Sharpen the bevel side almost exclusively, at the angle the maker ground it — usually shallow.
- On the back, only lay the blade completely flat and take two or three strokes to remove the burr. Never raise an angle on the back face; doing so ruins the geometry permanently.
- If a single-bevel knife needs serious work, a professional sharpening service is a reasonable investment.
The daily care that matters more than sharpening
Most knife damage is not dullness. It is chipping, corrosion and handle failure, all of which are avoidable.
Wash and dry immediately. Warm water, a soft sponge, no scouring pad. Dry with a cloth straight away — not on a rack. This applies to stainless too; "stainless" means slow to stain, not immune.
Never the dishwasher. Heat softens temper over time, detergent is corrosive, and knives knocking against other items chip. Wooden handles crack.
Cut on wood or soft plastic. Nothing else.
Hinoki cypress is the traditional Japanese board material for good reasons: it is soft enough to protect an edge, naturally water-resistant, aromatic, and it carries the antibacterial oils cypress is known for. Glass, granite, ceramic and bamboo boards all damage edges — bamboo is much harder than it looks.
No bones, no frozen food, no twisting. Japanese edges are thin. Levering with the tip snaps it.
Store properly. A magnetic strip, a knife guard or a wooden saya. Loose in a drawer, blades chip against everything else in there.
Carbon steel gets one extra rule: dry it the moment you finish, and wipe it during long prep sessions if you are cutting acidic ingredients. A grey patina is protection. Orange rust is neglect — remove it with a rust eraser or fine abrasive and oil the blade afterwards.
Small knives get the least respect and the most abuse — left in the sink, used to open packaging. They deserve the same routine, and they are the ones most often ruined first.
Frequently asked questions
How often should I sharpen? For home use, every one to three months on a #1000 stone, depending on how much you cook. If the knife stops falling through paper, it is time.
Can I use a honing steel? A grooved European steel is too aggressive for hard Japanese blades. A smooth ceramic rod used very lightly is acceptable for realigning an edge between sharpenings — but it does not replace stone work.
What grit should I buy? #1000/#6000 combination if you buy one stone. Add a #400 only if you need to repair a chip.
Do I need to soak the stone? Water stones, yes, until the bubbling stops. Splash-and-go stones need only a wet surface. Never oil.
Can a professional service fix a badly damaged knife? Usually. Chips, a warped tip, or an edge ruined by a pull-through sharpener can be reground, though it removes metal and shortens the blade's life.
Is it worth sharpening a cheap knife? Yes — a sharp cheap knife is safer and more pleasant than a dull expensive one. Practice on it before you touch the good one.
Fifteen minutes on a stone, and a rule about the sink. That is the entire maintenance burden of a knife that will outlast every other tool in the kitchen. If you are still choosing one, start with the shape guide; if you want to know what you're sharpening, see the steel guide.